Yates Account
Join now
Create a Yates account today!
Sign up to join the Yates Garden Club for monthly e-mails packed with seasonal inspiration, tips for success & exclusive promotions.
Plus if you’re a Garden Club member you can take part in the Yates Growing Community - a blog to share successes, get advice & win prizes in fun challenges along the way!

Forgot password
Enter the email address associated with your account, and we'll email you a new password.

Community gardens are a wonderful way to gather up like-minded people in your area, to create a shared space where everyone is welcome to care and contribute. If you are thinking about a community garden, we have a few tips that you may want to consider.
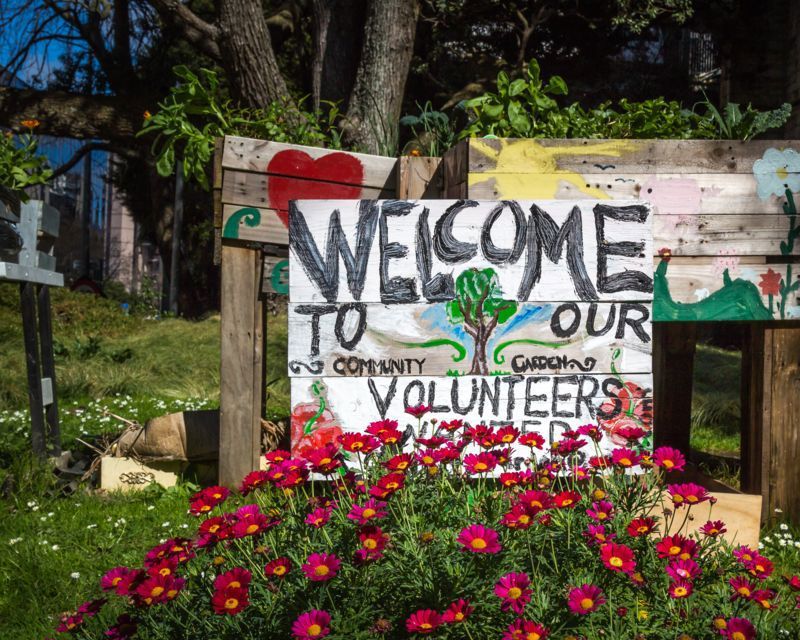
1. Gather local support
Speak to your neighbours, café owners, schools, local apiarists etc. and see how much support the community is able to offer. This might include spreading the word, donations, materials or mahi. It's essential that you have the backing of your community; a successful community garden is a team effort. After all, there is no ‘I’ in team! Promote the idea everywhere you can, gather the interested people and make a date to get them together. Have a kōrero, capture everyone's ideas and get broad commitment to go ahead.
2. Rope in your team
Bring together the willing participants, set goals and outline 'rules of engagement'. Establish what the garden will be, what you'll grow, how it'll be used and how the harvest will be shared. Draw up a design of the garden so that everyone can visualise it. If you get everyone on the same page now, it ensures harmony later...get the agreement down in writing.
3. Set your sights on a site
Next up is locating a site, but before you do, we suggest visiting existing community gardens to speak to their members about what works well, what their frustrations are and what you should consider. This is a really valuable exercise; you're certain to get some useful learnings out of it.
4. Take your plans to Council
Before going any further, an important step is to take your plans to Council and ensure they are onboard. They'll be able to advise on land ownership or any future plans for the location you've chosen. Local Councils are often very helpful with setting up a community garden, so be sure to check them out.
5. Check the site conditions
You need to ensure you have the right conditions if your garden is to flourish. Here are a few things to consider:
- Has the soil been tested to make sure it's safe for growing edibles?
- Do you have a water supply?
- Does the location receive ample sunlight?
- Is there vehicle access?
- Is the site accessible for people with disabilities or limited mobility?
6. The secret is the soil
Now that you have your site and your team, you want to get stuck into planting! Right? Not just yet...we suggest checking the condition of your soil first. If you have heavy clay-based or light sandy soil, it’s probably best to install raised garden beds. If this isn’t an option, it’s important that you put in the pre-work to nourish your soil, to give your garden has the best chance at success. Add Yates Dynamic Lifter Organic Plant Food and generous compost to the soil and fork in well. Cover the soil with an organic mulch (e.g. pea straw) and water in well. Water regularly to help it break down and check the condition of the soil after 6 weeks. Repeat if necessary, until you're happy the soil is primed and ready to go.
7. Get planting!
Now the fun part! Rally up the troops and get planting! It’s important everyone has a role to play, so we suggest creating a roster for feeding, watering, and general maintenance, so that everyone feels like they are a part of something special. Working bees are a great way to kick-start things: this is the time to shine for the volunteers who don't enjoy meetings but love to get hands-on! Make sure to feed everybody afterwards and encourage them to hang out for a while. This is why creating places to sit and socialise are important to include in your garden plan.
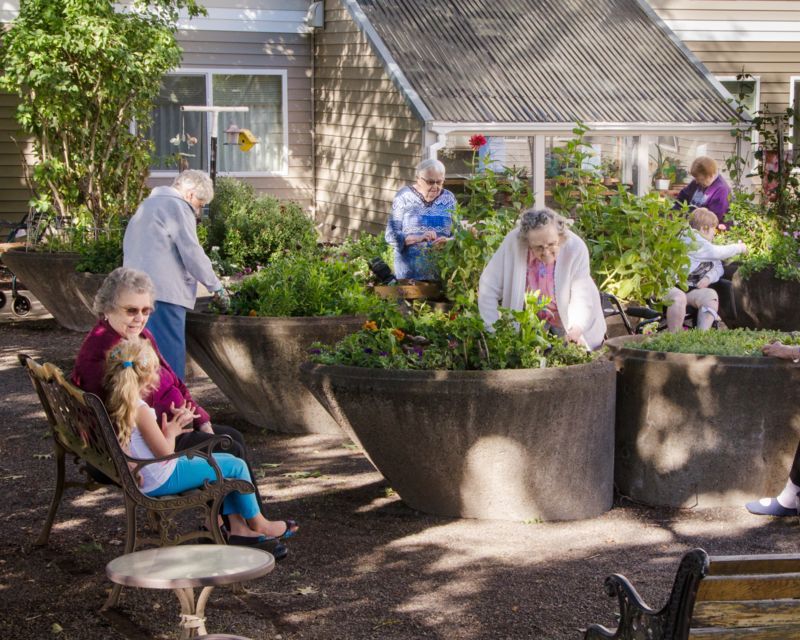
Community gardens are a great way to connect with the community and bring people together. For a lot of people, they are valuable to minimise feelings of isolation or maintain a sense of purpose. All in all, they're an easy way to meet new, like-minded friends!







Share
Share this article on social media