Pruning Roses 2

Does the thought of pruning roses make your palms sweaty? This topic seems to cause a lot of angst, even among experienced gardeners, but it’s not really that difficult.

Here's how to do it. If you work through these steps, your roses will look blooming beautiful.


Roses respond really well to pruning, as they flower on the new growth that pruning stimulates. Pruning keeps them neat, attractively-shaped, healthy and sets them up for a magnificent flowering season. And the good news is, if you make a mistake it's no worse than a bad haircut - it will grow back!

July is the month when most roses are pruned. There are a few exceptions, including ramblers like thornless banksia roses or weeping standards, which should be pruned just after they flower in spring.

For all other roses, mid-winter is the time to remove dead, old or diseased wood, shorten healthy branches to promote new growth, and keep your roses a manageable size and shape.

If you'd like to know more about general pruning fundamentals, we also have a detailed introduction to pruning.

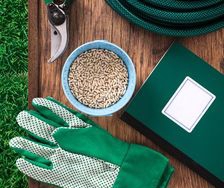
So, let’s get into it. Just like a good cook, it’s wise to gather ingredients and tools before you start.

Here's What You'll Need:

  • Garden gloves (choose the heavy-duty type, roses are prickly little beasts)
  • Clean, sharp secateurs
  • Narrow bladed saw, or pruning saw
  • Yates Lime Sulfur - for a protective clean-up spray after pruning
  • Garden sprayer

If your cutting tools could use some TLC and a sharpen, here's how to do it.

What Tools Should I Use to Prune a Rose?

  • For thin stems, use bypass secateurs for a clean cut, with no crushing or bruising.
  • For dead wood, anvil secateurs are the best choice, for extra cutting power.
  • For medium-thick stems that are too thick for secateurs, use loppers.
  • For hard, woody stems or branches, use a narrow-bladed saw or pruning saw.
  • Aim to clean secateurs and other pruning tools between plants, to avoid spreading bacteria or spores between them. It’s vital to clean tools after removing any plant parts infected by a fungal disease.
  • Clean tools by wiping the blades with methylated spirits, a 9:1 mixture of water and bleach, or alcohol wipes, then rinse with water. Give them a light spray of penetrating oil on the blades to prevent rust.

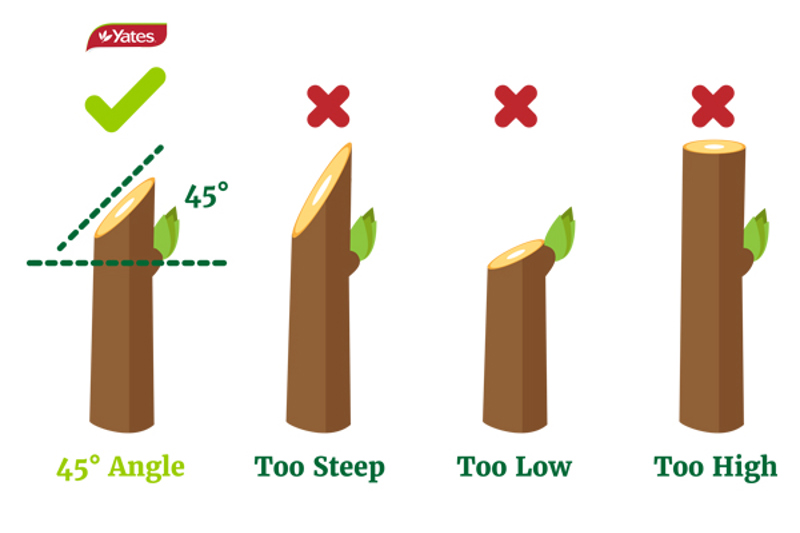
Always cut just above an outward-facing bud, at a 45° angle.

How to Prune a Rose, Step-by-Step

  1. Remove any weak, spindly, criss-crossing or dead stems, cutting at the base of the shoot/stem. If it’s an established bush, look critically at the stems and remove the oldest, thickest woody canes, by sawing them cleanly off at the base. Dead wood stays dead, so it doesn't hurt to remove it.
  2. Prune about one-third of the length off the remaining green canes, cutting just above a bud on the outside of the stem, angling your cut at 45°. Always choose a bud that faces outwards. The new growth will come from this bud, so plan ahead and it will head off in a favourable direction (Check the diagram below for the cutting location and technique).
  1. Stand back and take a good look at the rose. Does the remaining wood seem healthy and vigorous? Is the centre of the bush nice and open so that the sun and air can get right into it? Complete any tidying up that’s necessary.
  2. Look towards the bottom of the rose bush and remove any ‘suckers’ or shoots sprouting below the bud union (that's the knobby bit at the base of the plant where the rose was grafted onto its rootstock) to stop them from growing faster and taking over. They often pop up out of the soil close to the base of the rose. The best tip to get rid of suckers is to gently uncover them, so you can see where they're sprouting from. Put on your gloves, support the stem with one hand and forcefully rip the sucker off with the other - this prevents them from re-sprouting from a stump, which can happen if you cut them. Make sure you remove suckers as soon as you spot them, they're quite difficult to wrench off once they get established!

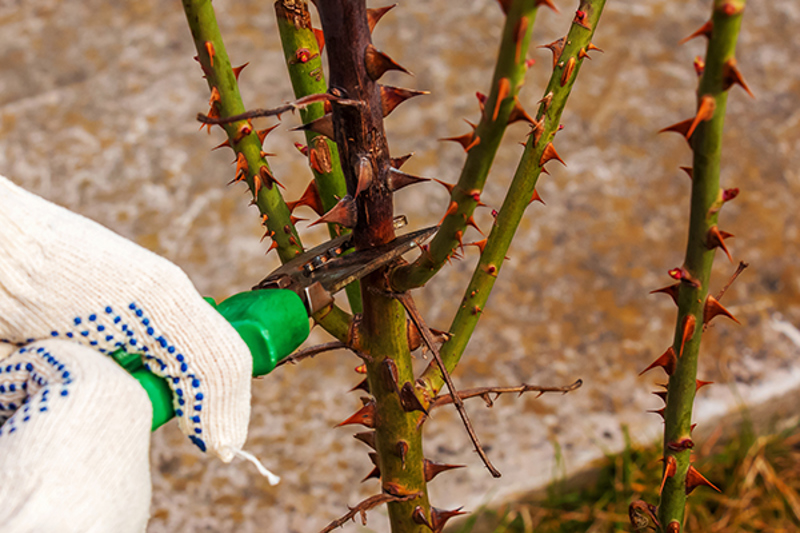
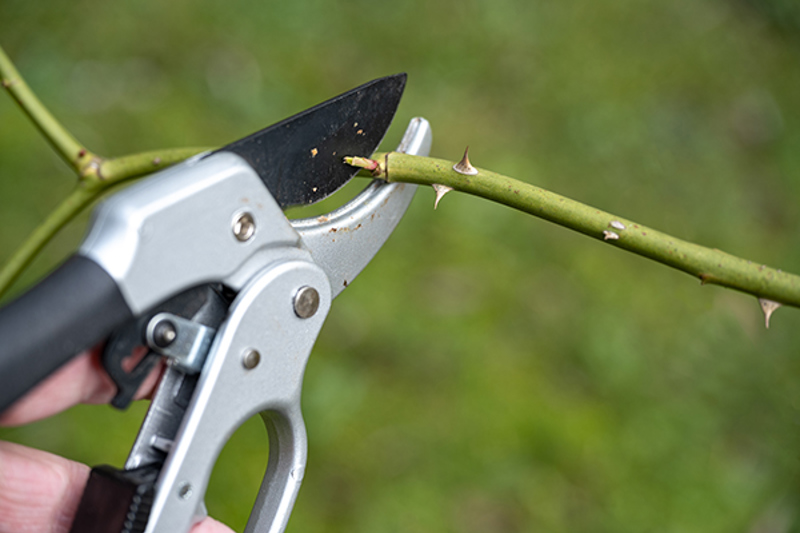
Removing a dead woody stem from a rose.
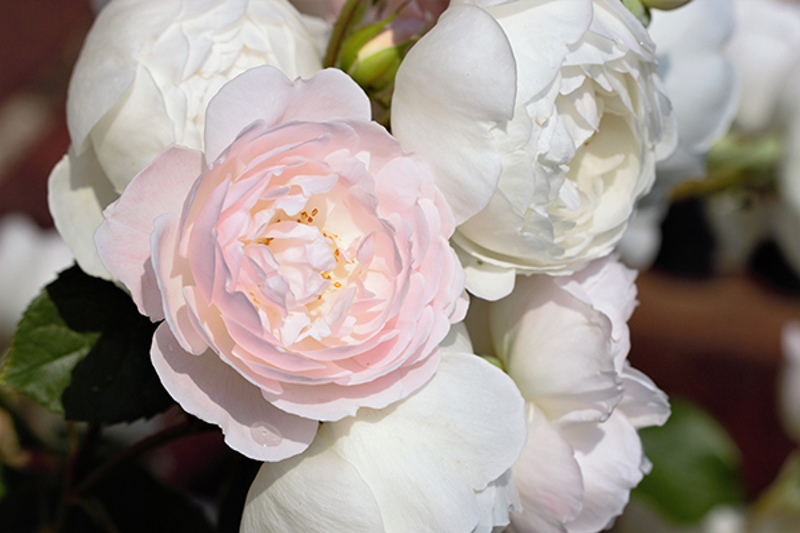
  1. Remove any remaining foliage from stems, clean up any fallen foliage around the bush and discard it. Don't put leaves or cut stems in your compost, they can harbour diseases until next season; pop it into green waste.
  2. Dilute Yates Lime Sulfur Concentrate and spray the whole rose - this helps remove any scale and fungal spores from the stems. Pruning time is the ideal window of opportunity to apply Lime Sulfur, as it will defoliate the leaves on any new growth - don't leave it too late to spray!
  3. Add a good layer of organic mulch, like pea straw or lucerne around the base of the bush, taking care to avoid direct contact with the rose stem. If you leave a gap, about 10cm from the stem, it won't create the humid conditions that make disease pathogens thrive.

Old English Rose

Pruning Tips, for Specific Rose Varieties

  • Newly planted Hybrid Tea roses, Floribundas and Grandifloras are pruned to train them into an open 'cup' shape of woody stems. These varieties bear flowers on one-year-old stems, so after they're established, new growth is best pruned lightly. Each year during winter dormancy, bushes are pruned to remove dead wood: the live stems that are left will be 1-3 years old. These live stems are shortened back to a strong bud - these buds will sprout new lateral stems, that deliver the spring blooms. Pro Tip: Make sure you never shorten stems by more than 1/3.
  • After you've cut the spring blooms to enjoy in a vase, you'll be doubly rewarded! New sub-lateral stems will develop below the cut, to produce a second flush of flowers. Repeat blooming roses like these are known as 'remontant' roses. For a light summer prune to encourage a second flush, remove dead flowers, dead or diseased stems and trim stems back by one-third.

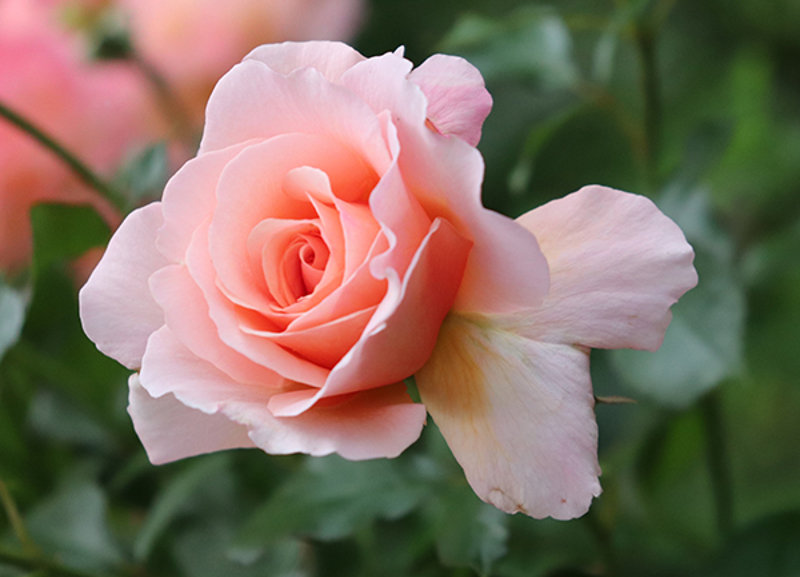
'Augusta Luise' hybrid tea rose
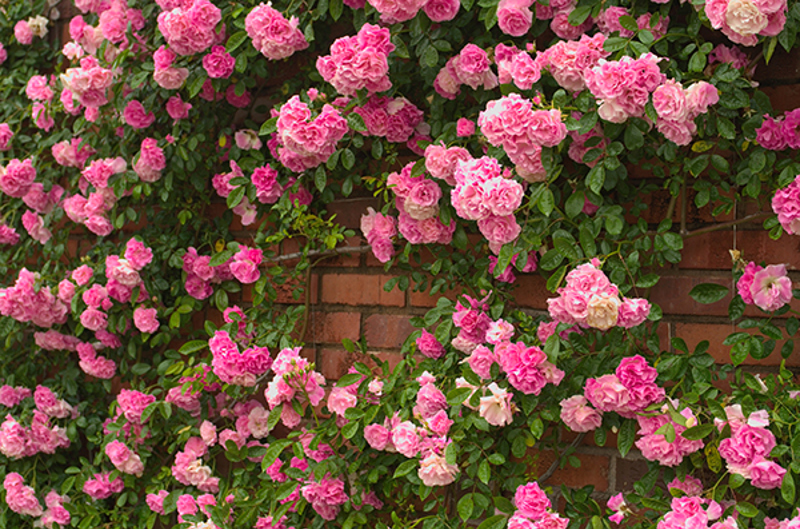
  • Miniature roses (of any variety) are very fiddly to prune, so very light pruning to maintain a nice shape is generally enough.
  • Prune Old Garden roses (Old European, Tea and China roses) very lightly. Remove dead wood each year in winter, but when you shorten the stems back to a strong bud, make certain you don't cut them back by more than 1/4 at a time. When in doubt, you can get away with skipping the winter prune for a year and simply deadheading the spent flowers.
  • The canes of Ramblers only flower once. Each year, they need to be pruned right back to the ground straight after flowering, so new flowering stems can grow up again next season. Because ramblers need to be re-trained every year, if you prefer the formal look they demand a bit more work than most rose types. Pro Tip: You don't need to train them if you plant them informally amongst shrubs, that can help to hold them up in a big flowery mass.

Rambling Rose

  • A big attraction of Climbing roses is that most varieties will bloom twice a year. These 'remontant' climbers prefer a light prune in winter, saving their main prune for just after flowering in spring. a little harder than most rose types. Once established, climbers don't shoot many new canes from the base, so be cautious about cutting the newer, green canes - don't cut them right back to the ground. Thin out dead wood, then shorten the lateral (side) branches on the green canes down to 2 or 3 buds. Nip off any suckers sprouting from the base of the plant. Very young climbers shouldn't be pruned hard in their first few years, just take off any dead wood until they get established. 
  • Once-flowering climbers are different to 'remontant' climbers; they don't respond well to severe pruning, so just take out the dead canes, no stem shortening is needed.
  • In warm climates, before applying the mulch, sprinkle Yates Thrive Rose & Flower Granular Plant Food over the soil. In frosty areas, it’s better to wait until the last frosts before feeding your roses.

Related products


More project guides & articles

How to Prune Your Roses

Let's take the guesswork out of pruning your roses. Here's how to prune, so they'll deliver masses of beautiful blooms.

All About Pruning

If you've never pruned before, or you want to brush up on the fundamentals: here's our detailed introduction. Find out why, when and how to prune, so you can cut with confidence.